Why Laying a Gravel Path on Grass Is One of the Best Weekend Projects You Can Do
Laying a gravel path on grass is a straightforward DIY project that most homeowners can complete in a single weekend.
Here’s the quick version of how it’s done:
- Mark out your path using a garden hose or spray paint
- Excavate 4-6 inches deep, removing grass and topsoil
- Compact the soil base firmly
- Add a sub-base of 2-3 inches of crushed stone and compact again
- Lay landscape fabric to block weeds and grass
- Install edging to keep gravel contained
- Fill with 2-3 inches of decorative gravel and rake level
A typical 10-foot path costs around $100 in materials and takes 2 to 4 hours to complete.
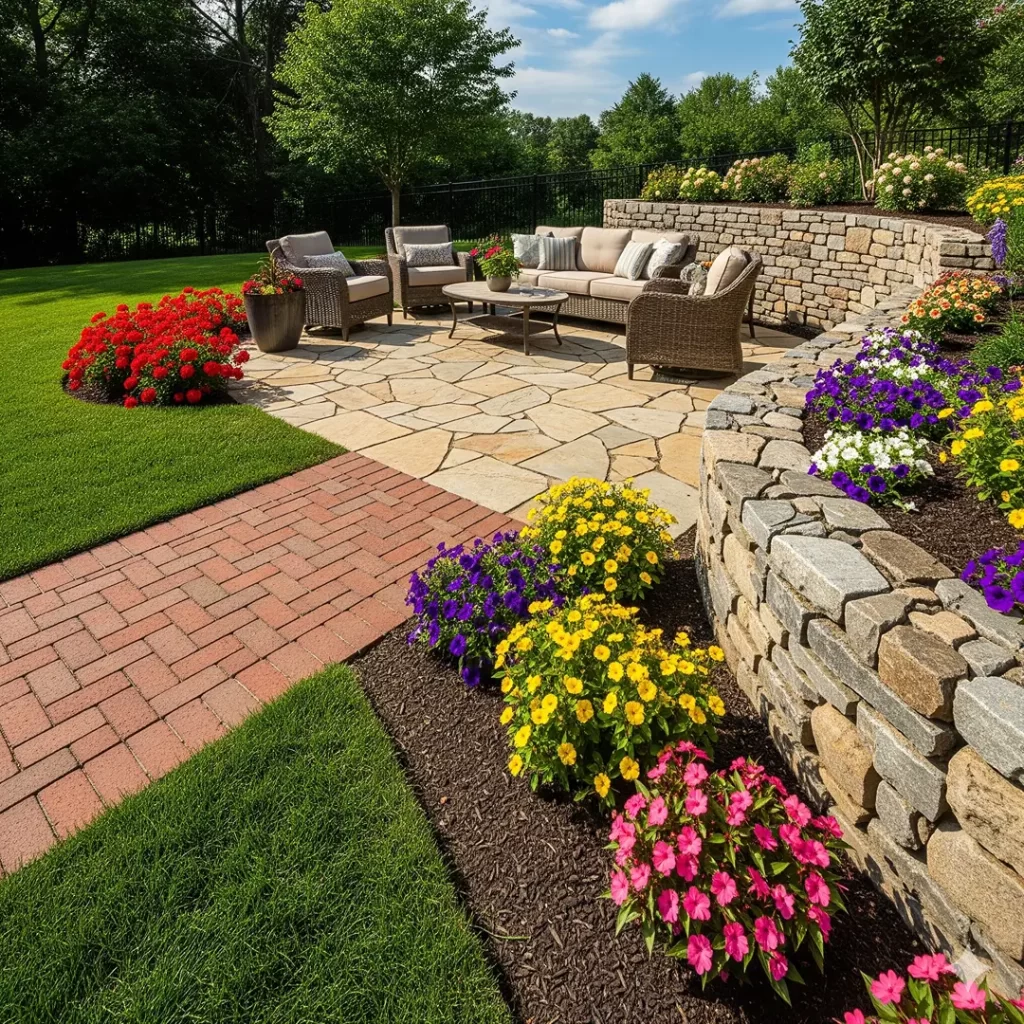
Gravel paths are popular for good reason. They’re affordable, drain rainwater naturally, and look great alongside a suburban lawn. Unlike concrete or pavers, you don’t need special skills or heavy equipment to get started.
But there’s a catch. A poorly built gravel path feels like walking through beach sand—soft, unstable, and frustrating. The difference between a path that lasts years and one that sinks after one season comes down to proper preparation.
This guide walks you through every step, from planning and excavation to choosing the right gravel and keeping it looking sharp over time.

Planning and Preparing for Laying a Gravel Path on Grass
Before you pick up a shovel, we always recommend spending a good amount of time in the planning phase. In Rhode Island, where our soil can range from heavy clay to sandy patches, understanding your terrain is vital. A path that looks good on paper might be a “boggy mess” in reality if it’s placed in a low-lying area of your yard.
Mapping the Layout
The first step is to visualize the flow. Most garden paths work best when they are 3 to 4 feet wide. This allows two people to walk side-by-side or gives you enough room to maneuver a wheelbarrow or a “wheely bin” for trash day.
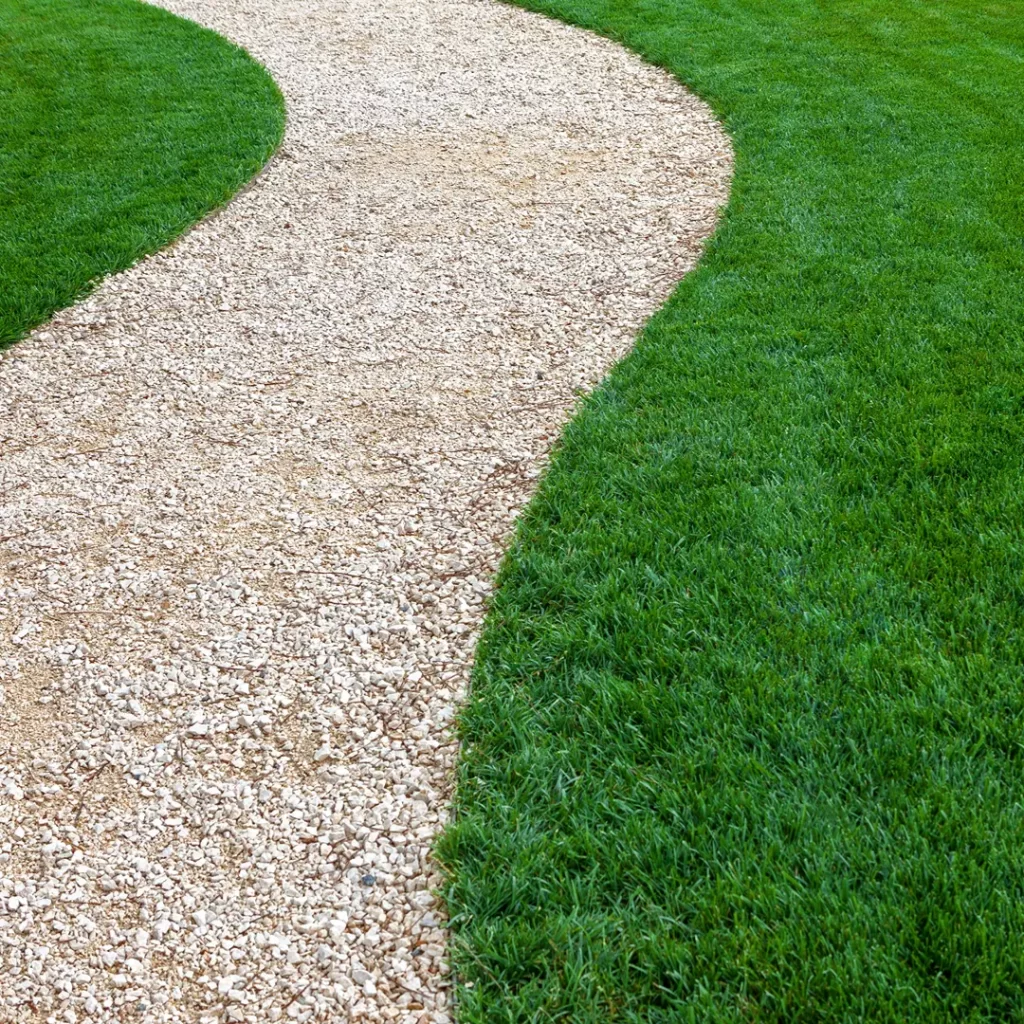
To mark the path, we suggest using a garden hose or a long rope. These are flexible, allowing you to create organic, “twisty” curves that add character to your landscape. If you prefer a more permanent mark while you work, use landscape spray paint to trace the edges.
Utility and Safety Checks
One of the most common mistakes we see is homeowners accidentally severing an internet or cable line, or worse, a buried water or electrical pipe. Before you start digging into your lawn, always call 811 (Dig Safe) at least a few days in advance. It’s a free service, and they will mark out any public utilities in your yard.
Step-by-Step Guide to Installation
Once your layout is marked and utilities are cleared, it’s time to get your hands dirty.
1. Excavating the Trench
To ensure your gravel doesn’t scatter across the lawn, the path needs to sit slightly below or level with the surrounding grass. Using a square-edged spade, dig a trench that is about 4 to 6 inches deep along your marked layout.
Slice through the turf to create clean, straight edges, then scoop out the grass and topsoil. If your soil is particularly soft or prone to holding water, lean closer to the 6-inch depth to allow for a thicker, more stable base layer.
2. Compacting the Soil Base
Never skip compaction. If you lay gravel on loose, freshly dug dirt, the stones will sink and shift every time it rains. Use a manual hand tamper (or rent a vibrating plate compactor for longer paths) to firmly tamp down the exposed soil until it is hard and flat.
3. Laying the Sub-Base
A reliable gravel path is built on a hidden foundation. Pour 2 to 3 inches of crushed stone (often called pack, stone dust, or MOT Type 1) into your excavated trench. This material consists of various-sized crushed rocks and stone dust that lock together tightly when compressed. Lightly spray the sub-base with a hose to help settle the dust, and then tamp it down until it creates a rock-solid, even surface. This layer prevents your decorative gravel from sinking into the mud and promotes excellent drainage.
4. Adding Weed Barrier and Edging
Next, roll out heavy-duty non-woven landscape fabric over the compacted sub-base. This geotextile layer acts as a barrier, preventing weeds from growing up from the soil while allowing water to pass through.
With the fabric in place, install your edging along the sides. Edging serves as a rigid border to keep the gravel contained and prevents the grass from creeping into the walkway. Popular edging materials include:
- Steel or Aluminum Edging: Sleek, modern, and practically invisible.
- Plastic/Polymeric Edging: Affordable and easy to bend around curves.
- Cobblestones or Brick: Great for a traditional, rustic look.
- Treated Timber: Ideal for straight paths and natural garden settings.
5. Pouring and Leveling the Gravel
Finally, the fun part! Pour your chosen decorative gravel into the path. You’ll want about 2 to 3 inches of gravel to fill the space up to the top of your edging.
Pro Tip on Choosing Gravel: Avoid perfectly smooth, round stones (like river rock or pea gravel) for walking paths. Because they lack sharp edges, round stones act like marbles and shift underfoot. Instead, choose angular gravel—such as crushed granite, slate chips, or 3/8″ clean crushed stone. The angular edges lock together, providing a much more stable walking surface.
Use a bow rake to spread the gravel evenly along the path, ensuring the surface is smooth and uniform.
Maintaining Your Gravel Path
One of the biggest perks of laying a gravel path on grass is the low maintenance. To keep it looking pristine:
- Rake it occasionally: Keep a steel rake handy to smooth out divots, redistribute stones, and clear away fallen leaves.
- Spot-treat weeds: While the landscape fabric stops weeds from below, wind-blown seeds can occasionally sprout in the dirt that settles between the gravel. Pull these out quickly or use a targeted weed treatment.
- Top it off: Every 2 to 4 years, you may need to order a fresh load of gravel to top up areas that have thinned out or settled.
Not into DIY? Let the Pros Handle It
While laying a gravel path on grass is a rewarding weekend project, it can be physically demanding. Hauling yards of heavy stone and digging up tough turf isn’t for everyone.
If you want the beautiful results without the backache, the team at Landscape Solutions RI is here to help. From simple garden borders to comprehensive walkway installation, we can design and build hardscapes that elevate your property’s curb appeal and stand the test of time. Contact us today to discuss your next landscaping project!